

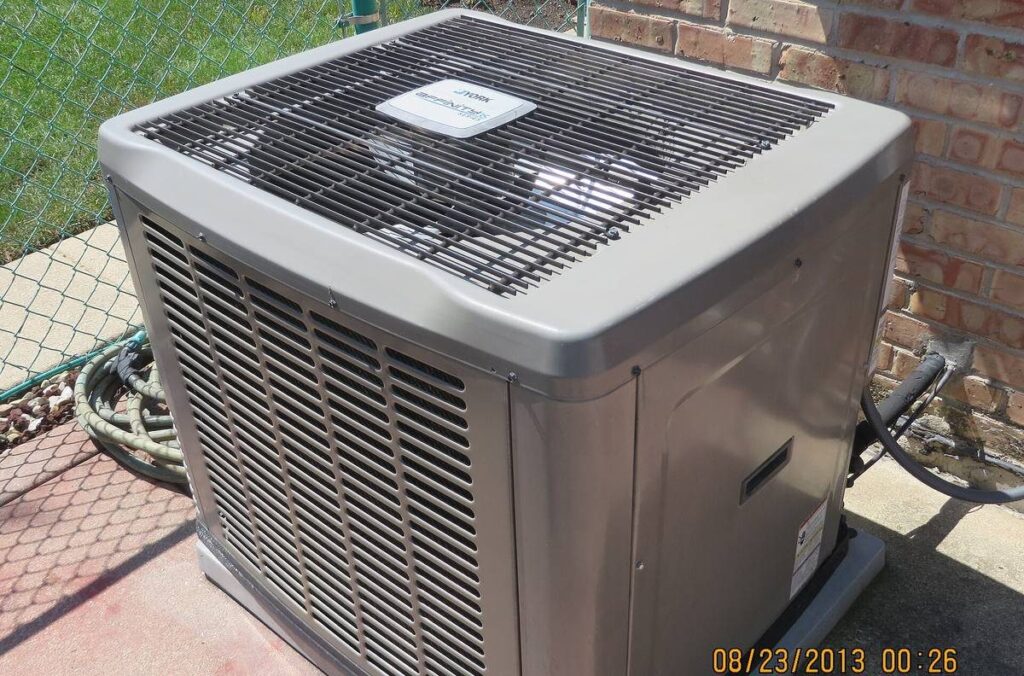
When the AC is “on” but the house still feels sticky, I start with the boring checks. They sound too simple — until one of them fixes it before a Saturday service call.
I’m Steven. I’m not your licensed HVAC tech. I’m the neighbor who wants you to try the safe stuff in the right order, then know when to put the screwdriver down. This checklist is the same order I use at my own house when summer hits and someone says, “It’s running, but it’s not cooling.”
What “not cooling” usually looks like
Most calls I hear about fall into one of a few buckets: the outdoor fan is spinning but indoor air feels lukewarm; the indoor blower is moving air that isn’t cold; the whole system seems quiet and the thermostat display looks weird; or the system ran fine yesterday and today there’s ice or a puddle.
You don’t need to diagnose refrigerant pressure from the driveway. You do need a calm sequence so you don’t skip a $12 filter and jump straight to a weekend emergency fee.
1. Confirm the thermostat is actually asking for cool
Set the mode to Cool (not Auto if Auto has been confusing lately), drop the setpoint a few degrees below room temperature, and wait a few minutes. Dead batteries on older stats still cause “mystery” failures every summer.
Also check the obvious guest-house stuff: someone left it on Heat after a chilly night, or Fan is stuck on On while Cool is Off, so you feel airflow and assume the AC is “working.” Mode mistakes waste more service calls than people want to admit. If your schedule looks wild, park it in a simple Hold for now and troubleshoot from a known setpoint.
Smart thermostats add another wrinkle: the app may show Cool while the wall unit is offline, or a vacation schedule is still active. Confirm what the hardware on the wall is doing, not only what the phone says.
2. Check the filter before you blame the compressor
Pull the filter. If you can’t see light through it, replace it with the exact size stamped on the frame. A clogged filter is a top reason for weak cooling and iced coils.
Arrow direction matters. Match the airflow arrow to the direction air travels toward the blower. Sliding a filter in backward doesn’t always kill cooling, but it can collapse the media and starve airflow faster than you expect.
If your home uses a thicker media cabinet (4–5″), don’t force a 1″ filter into a slot that expects a deep cartridge. Wrong thickness plus a high MERV rating is a common way to quietly choke a system. For everyday homes, MERV 8–11 is the practical range I talk about most; jump to 13+ only if the equipment and cabinet can handle the resistance. The not-cooling filter MERV helper is a good place to sanity-check that choice later — right now, just get a clean, correct-size filter in.
3. Make sure vents and returns can breathe
Walk the house: closed supply registers, sofas on returns, and rugs over floor vents all starve the system. You want air in and air out.
Returns are the quiet villains. A big return blocked by a bookcase can make the whole house feel like the AC “lost capacity” overnight. Supplies matter too — closing most bedroom vents “to force more air downstairs” can raise static pressure and leave you with hotter rooms and a stressed blower.
If you have kids who tape cardboard over vents, or a recent furniture rearrange, start there before you invent a failing compressor story.
4. Look at the outdoor unit — from outside
Is the fan spinning? Is the cabinet buried in weeds, bags, or a storage tote? Clear debris gently. Don’t stick tools into a spinning fan. Leave space around the cabinet so air can move.
Your condenser rejects heat. If it’s boxed in by fencing, ivy, or last fall’s leaf pile, it works harder and cools worse. A gentle hose rinse from the outside is fine for loose fluff; a pressure washer that folds fins flat is not. If the fan isn’t spinning at all while the thermostat is calling for cool, that’s useful information for a tech — note it, don’t force the blade by hand.
More detail on spacing lives in the outdoor clearance guide.
5. Feel the supply air — carefully
After 10–15 minutes of runtime, supply air should feel clearly cooler than room air. Lukewarm air with a running outdoor fan points to airflow, refrigerant, or control issues that may need a tech.
I use the back of my hand at a supply register, not a lab thermometer. You’re looking for an obvious temperature drop, not a precise delta-T chart. If the outdoor unit and indoor blower are both running and the air still feels room-temperature after a solid call for cool, you’ve done the homeowner homework.
6. Ice on the copper or cabinet?
If you see ice, turn the system off and switch the thermostat fan to On to help thaw. Replace a dirty filter. Do not chip ice with tools. Persistent icing after a clean filter is a pro job.
Ice is dramatic, which is why the internet jumps to “low on freon.” Sometimes refrigerant is part of the story. Often the first chapter is airflow. Give the coil hours to thaw — not minutes — before you restart Cool. If it ices again with a clean filter and open vents, stop cycling it and call. The why AC coils freeze guide walks through that path in more detail.
7. Quick power and switch checks (still homeowner-safe)
Confirm the furnace/air handler switch is On (that red emergency switch gets flipped during spring cleaning more than people admit). Check whether a breaker labeled AC or air handler has tripped. Reset once. If it trips again, leave it off and call — repeated trips are not a DIY puzzle.
Outdoor disconnects exist for a reason. If you’re uncomfortable near them, skip this step. You’re not required to prove bravery before calling a tech.
When to call a pro
- No cool air after filter, thermostat, and outdoor clearance checks
- Repeated breaker trips
- Water overflowing indoors
- Unusual grinding or screaming from the outdoor unit
- Ice returns within a day after a proper thaw and clean filter
- Burning smells, scorched wiring, or a unit that won’t stay powered
Licensed techs own sealed refrigerant circuits, capacitors, contactors, and control boards. Your job is to clear the safe obstacles and hand them a useful story: what you checked, what you heard, and whether ice or water showed up.
A calmer way to use this next summer
I like running a short pre-season pass before the first heat wave — filter, outdoor clearance, thermostat sanity, condensate exit glance — so the first 95°F day isn’t also a scavenger hunt. The interactive seasonal outdoor and safety walkthrough helps track that. For a wider set of cooling articles, start at the cooling troubleshooting and AC guides.
Bottom line: order beats panic. Thermostat, filter, airflow paths, outdoor clearance, then decide. Most of the time you’ll either fix it yourself in twenty minutes — or you’ll know, with a clear conscience, that it’s time to call.